After my better half got home and after a little debating, we decided the spilt rail fence just didn't look quite right around the garden. It just didn't fit the look I was going for. I think making it into a round-ish shape threw it out of proportion and that Civil War era look, so, after taking it all down we decided we'd try it at the front of our drive and that came closer to the overall look we liked. I still need to split out another log or two to have the fence on the other side of the drive and a little more going down the front of our yard. With that said here is how it looks with just one side up. This is one whole log. It seems kinda bare when you think that's an entire log and it only made 4 high and 6 sections. I guess the logs that were used in the 1860's were either huge, or they just split a ton of em. What do you think?
Showing posts with label Tools. Show all posts
Monday, March 26, 2012
Sunday, March 25, 2012
Making a Split Rail Fence
Well it's been almost a month since my last post and that about sums up how furniture making has been going. Pretty dead right now, but it was time for me to get back on the horse and write about something hand work related. This time I'm splitting out rails for the split rail or snake rail fence I'm putting around my better halves garden. I only had one log today but plan on getting a couple more to complete a 5 rail high fence.
Here is the first log. About 15" dia. at the small end and its 9 foot long or so. I go through the splitting process like that on any other for the most part.
I begin by first splitting the log in half. One thing I've noticed is it's way more difficult to split long pieces. I usually split out 5 foot long sections at the max, and at just over 9 foot, this log took some muscle and quite a bit more gusto from me than it normally does.
Then each quarter is split into half again making 1/8ths. The smaller the log gets the easier it is to split. I used a wedge to get the split started then turn to the trusty ol' froe to help the rest of the way. By using the wedge to hold the split open as I move along, I can then remove the froe and hop over the wedge and continue the split. Out of each 1/8th of a section I split out two more pieces.
This is the rails ready for use in the fence.

After about 2 hours of splitting I had the whole log split up into about 23 rails and was ready to get the fence started. Here you can see the fence in it's "Civil War-ish" look. Hopefully after 6-8 months it will grey up to that Civil War fence grey and look pretty good.
The garden with a partial fence. I plan to cut an opening for a gate but want to get all the rails split out and in place to see where the best location for it will be. I'm planning on driving 2 split posts into the ground and running the rails into mortises in the posts. Now on to get a couple more logs and complete the whole fence, or maybe after a little nap.
Here is the first log. About 15" dia. at the small end and its 9 foot long or so. I go through the splitting process like that on any other for the most part.
I begin by first splitting the log in half. One thing I've noticed is it's way more difficult to split long pieces. I usually split out 5 foot long sections at the max, and at just over 9 foot, this log took some muscle and quite a bit more gusto from me than it normally does.
After the initial split, I split each half again making quarters.
Then each quarter is split into half again making 1/8ths. The smaller the log gets the easier it is to split. I used a wedge to get the split started then turn to the trusty ol' froe to help the rest of the way. By using the wedge to hold the split open as I move along, I can then remove the froe and hop over the wedge and continue the split. Out of each 1/8th of a section I split out two more pieces.
This is the rails ready for use in the fence.
Checking the look and finding out that I need 2 more logs.

After about 2 hours of splitting I had the whole log split up into about 23 rails and was ready to get the fence started. Here you can see the fence in it's "Civil War-ish" look. Hopefully after 6-8 months it will grey up to that Civil War fence grey and look pretty good.
The garden with a partial fence. I plan to cut an opening for a gate but want to get all the rails split out and in place to see where the best location for it will be. I'm planning on driving 2 split posts into the ground and running the rails into mortises in the posts. Now on to get a couple more logs and complete the whole fence, or maybe after a little nap.
Friday, January 13, 2012
Shaping a Windsor Chair Spindle
After browsing over my past videos uploaded to YouTube, I watched the one on Spindle Making. While I'm never happy with the way most of my videos come out, that video I am defiantly not happy with. It shows basically nothing but a "buffoon" hacking away at a stick of red oak. I didn't speak one word as to what I was doing or how I got to that particular point in the process. It's just a close up of me trying my best to make a video on a subject I thought I knew something about.
So with spindles to make for the chairs I'm making now, I thought this is a good time to redo a spindle video. Maybe I can give someone wanting to make a Windsor, a little more detail on how to shape them than I had when I first started. I'm going to leave the old spindle video up and let you all comment on which one gives more info on the process and helps you make a spindle. I'm pretty sure which one it'll be but I'll let you tell me in your own words. Who knows I may have to make another with better ideas from you.
Wednesday, December 28, 2011
Rusting screws for a primitive antique look
I have always liked the look of painted antiques and how the paint seems worn (battered in some cases) and all the patina that naturally comes with age. Some of the patina is difficult to emulate, while other aspects are fairly easy. One such way to help make a new piece have the aged and more authentic look is to use rusty hardware (hinges, screws, square nails, etc). You can buy this look already done but it's expensive. I have been doing the rusting process myself for several years and it's relatively easy and much cheaper, while not entirely safe if you don't take some precautions.
First you have to get all steel nails, screws, hinges or whatever you plan to rust. I purchased 200 #8 x 1" slotted screws for this demo and they cost me $12 in bulk. They come with a zinc coating on them all bright, shiny and new. To get them to where I want them, all rusty and grungy looking, I began with a dip in a bath of muratic acid, the kind used for swimming pools. I get mine at the big box store. It's diluted quite a bit and works good for this process although a respirator and doing this outside is a must (shop tools and their steel surfaces will rust as well just from the fumes in the air). The fumes from the acid is very unpleasant to breathe. After I have the respirator on and I'm in the grass outside away from any concrete (muratic acid will eat concrete) I pour the acid into either a plastic or glass jar till it just covers the screws etc. You'll see a yellowish bubbling froth start to appear. After a few seconds the froth dies back down and has eaten all the plating that is put on the screws. It gives a dull grey appearance.
Next I pour the acid back into the jug it came in (it can be used over and over) and pour in plain water into another plastic or glass jar. Dump the screws into the water, let them set for a few minutes then simply pour out the water and place the screws on a shop rag and let them air dry. It usually takes 24 hours for them to be ready to use. If it doesn't get enough rust the first go around I squirt more water on them and let it set again and completely dry. It's rare that I have to do it more than twice. Then once dry, they look like the aged, old screws almost every antique has. If it was this easy to get the aged patina on wood, my job would be simple.
Saturday, December 17, 2011
Taking Quality photos of your work pt. 1
After spending time and money to have my furniture photographed by a professional photographer, I decided I'd give it a try myself. I had went to the photographer a few times, and she did an outstanding job, but it was such a chore to drag 4-6 chairs and large cabinets to her studio to have it all done. I saw the background she used and the lighting and honestly it didn't look all that hard to try on my own.
First I bought a back drop which is really just a 9' wide x 36' long roll of heavy paper on a cardboard tube at the local camera shop, they come in several colors, I choose black, cost $40. Then I bought a couple cheap lights off Ebay that came with the umbrellas, another $40 for the pair. I already had a inexpensive Kodak digital camera that takes a 12 mega pixel photo, around $120 new. I was pretty well set other than a tripod that was $25 at "Wally World". So for the cost of a couple trips to the photographers studio I had what works just about as well and I can do it at home, in the shop where the furniture already is. Now to see if it would work.
I have never really done any kind of picture taking except for the basic stuff, family photos, kids as they grow up and the like. When your trying to get good quality photos of your work for a magazine or just to put on a web site, lighting is key. At first I had to play with lights for a couple hours checking where the shadows were and if there was any glare, etc. After some monkeying around and adjusting the light angles, it's really not to hard to get pretty nice photos. The photo of the Jefferson Swivel and the Slant lid Secretary on the opening pages of this blog is one of the first I did. You can see how well it turned out. Another I did recently is the Shaker Table above. While I have a shadow behind the table somewhat, it still turned out pretty clear.
I now have a place in my shop were I can pull the backdrop down tape it to the floor, set my piece on it and within an hour or less get several photos at different angles that look, in my opinion, almost as good as the pros did without spending the time loading, unloading, setting up, photographing, loading back up, and waiting a week or so to get the photos plus a $100 an hour fee. I wouldn't call myself a photographer by any means, but I do call myself a do-it-yourself cheap skate.
Wednesday, December 14, 2011
Hide Glue's Holding Power and Repairability
Tuesday, December 13, 2011
Hide Glue in a Yellow Glue Era
After a ton of reading about and hearing about it from other woodworkers, I decided to try Hot Hide Glue. I bought a cheap little $10 crock pot from "wally world", and being that I live close to a Grizzly tool store I bought a can of ground hide glue crystals from Behlen.
Well, your suppose to do a 1 to 2 ratio first of all, 1 part glue to 2 parts water. Then let it set in a sealed jar for a while until it turns to the gel-like consistency of fish eggs or tapioca pudding. Then it goes in the crock pot and heats till its nice and runny and melted completely, its only suppose to get to a temperature of 140-160 degrees from what I've heard.
After being real flustered, I went to the trusty ole Internet and found a video on YouTube from Stewart MacDonald. This video is great, it shows the same brand I had, and tells in a short 1:55 long video how to mix and use the stuff. OK, so I tried again using this method, and it worked perfectly!
I am making a huge entertainment center right now to fit a 55" flat screen and it has a dovetailed carcass, the hide glue went on nice and even and dried within a minute or so to the gel stage. One thing you have to get use to from using the "Yellow Stuff" is the extremely fast set time of Hide Glue. I did one section at a time and even used a heat gun to pre-warm the pins on the dovetails to make sure the glue had a little bit longer open time. It worked great, plus one benefit I didn't know, is the glue acts kinda like a lubricant to make slipping the joint together easier. I have to say that after my first day of actually using Hide Glue on a project, I'm kinda liking it. I want to build furniture that will stand the test of time. Yellow Glue has only been around maybe 60 or 70 years vs. the 2000 or so Hide Glue has been around, I think I'll be using more hide glue. Plus it's repairable, if a part ever needs to be fixed just heat the joint and it relaxes the glue making it fixable, not re-make-able.
There's that old adage, make it right to begin with and it won't come apart. While that has a lot of truth in it, how do we know that in 75 years Yellow glue doesn't break down and become moldy or something. Maybe I should think about the future more, glues break down, it's almost guaranteed, maybe I/we should give Hide Glue more praise and use it more so the future repair shops don't think of this as the Yellow Glue era and start saying, "That piece may have been in your family for generations but it's unfix-able, had the craftsman only used Hide Glue, Aunt Betty's Windsor Chair would be able to stay out of the trash pile".
Wednesday, November 30, 2011
Hold Fasts that hold fast
I have always been fascinated with a pair of hold fasts, the little bent metal tools you see everyone using in hand tool work. Seemed so cool to be able to set a work piece in place, anywhere you have a hole. I had never owed a pair till about a month or two ago. First I bought a cheap pair from Rockler, they were cast iron pot metal, about 8 or 9 good whacks and, BAM, broken in two. I thought great just my luck, but what I realized, and what most of you probably already know, is that even though those were "cheapies", I still found a tool that is a must in the shop. I don't know how I ever got by without a pair for so long now. Now I needed a real pair that will hold up indefinitely and not snap once I wrap on it with a bit of force. That's when I started looking around online for a new pair. I ran across a pair of Gramercy's from www.toolsforworkingwood.com WOW these things are great. For $32 you get 2 that are solid steel and not going to break. I built me a little bench that I use for carving chair seats out, drilled a dozen or so holes in it and I use that bench for so much more now. These are the best tools for holding work in place, plus you get to get some fustration out if you need a little vent time. I don't know why it took me so long to get a pair of these, guess it takes some people a little longer to catch on.
Saturday, October 8, 2011
Chair-maker in the making...
I had been sitting at the shaving horse all day when my 3 year old daughter Lily, came out to see me. I stood up and walked over to the bench a few steps away, turned around and Lily was on the shaving horse doing what she saw me do. I had to take a quick picture with my phone before this one got away. I hope even if she doesn't go as nuts over woodworking as I have, that she at least appreciates it down the road. It would be incredible if I had a chair making buddy though.
Wednesday, August 17, 2011
Covered Wagon Bed
Now that I am caught up for a week I have to try and get this bed knocked out. It's a bed for my 2 year old daughter, Lily. My wife came to me and said Lily needed a new bed. She is at the age where she's ready to start crawling out and we don't want her to climb out of the crib thats off the ground 3 or 4 feet, so I thought, what would be a good bed that would be unique at the same time and after a few weeks of looking online, I thought, I've never seen a covered wagon bed (light bulb). I looked online for ideas and all I could find were pictures of old wagons and ones people had restored. I needed it to fit her toddler mattress and being that she like us to drape blankets over her crib at night and call it her "tent" I thought this would be perfect. I began with a dovetailed box that will fit her mattress and just went from there. Being that I had several oak logs, I split out the bows that will have the canvas covering them and steam bent them around one of the wheel rims. It worked perfectly. Today I got the wheel hubs and and spokes made and hopefully tomorrow I can get the wheels all put together. This is a very fun and at times a real head scratcher but fun project. I'll post more pictures of the process as I get further along.
Sunday, August 7, 2011
Hand-cutting a Dovetail Drawer Parts 1& 2
Here is a video on cutting all the dovetails in a drawer. It goes through all the steps I use to make a complete drawer with hand tools only (except cutting stock to length and width), from layout to cutting and chopping to using a Stanley #45 hand plane to cut the grooves in the drawer front and sides, plus chamfering the solid wood drawer bottom with a rabbeting plane.
Monday, August 1, 2011
Carving a Knuckle for a Windsor Chair
Here is a video of how I go about carving the knuckles for my Nantucket Fan Back arm chairs. I have never been taught how to do this and don't know if it's right but it works for me and it's the only way I know how to do it. It takes some time to figure out and get, but it makes the arms of a chair have an added detail that I think looks amazing. Hope you enjoy the video.
Thursday, July 28, 2011
Rabbeted glass door with an offset mortise and tenon
I thought I would show how I go about making a glass door for my cabinets pieces. Instead of using a cope and stick router bit set, I opt for a better (in my opinion) offset mortise and tenon joint. It takes a bit of time to figure out at first but it really isn't difficult and makes a super strong door. When working with glass I want all the strength I can get. I have done it with the router version before and it works fine but I have also broken the the joint by accidentally dropping it on the floor. Granted the profile on those bits give a nice look, but to me they also look like kitchen cabinet doors made in a factory. With a mortised joint it is pretty much going to look like furniture. If you put a square peg through it, I don't ever see it coming apart and it will set the door in a more furniture realm than kitchen cabinets.
Wednesday, July 27, 2011
Windsor DVD
Here is a promo to my DVD on making a Bow Back Windsor. I use a few new techniques now but this is basically how it's done. There are a few things I left out on the DVD because it was intended to be given to students taking my chair class as a warm up for what to expect and what they need to kind of familiarize themselves with before coming to the class. The DVD is about 30 minutes long and is available on my web site for purchase.
Tuesday, July 26, 2011
Beaten to death
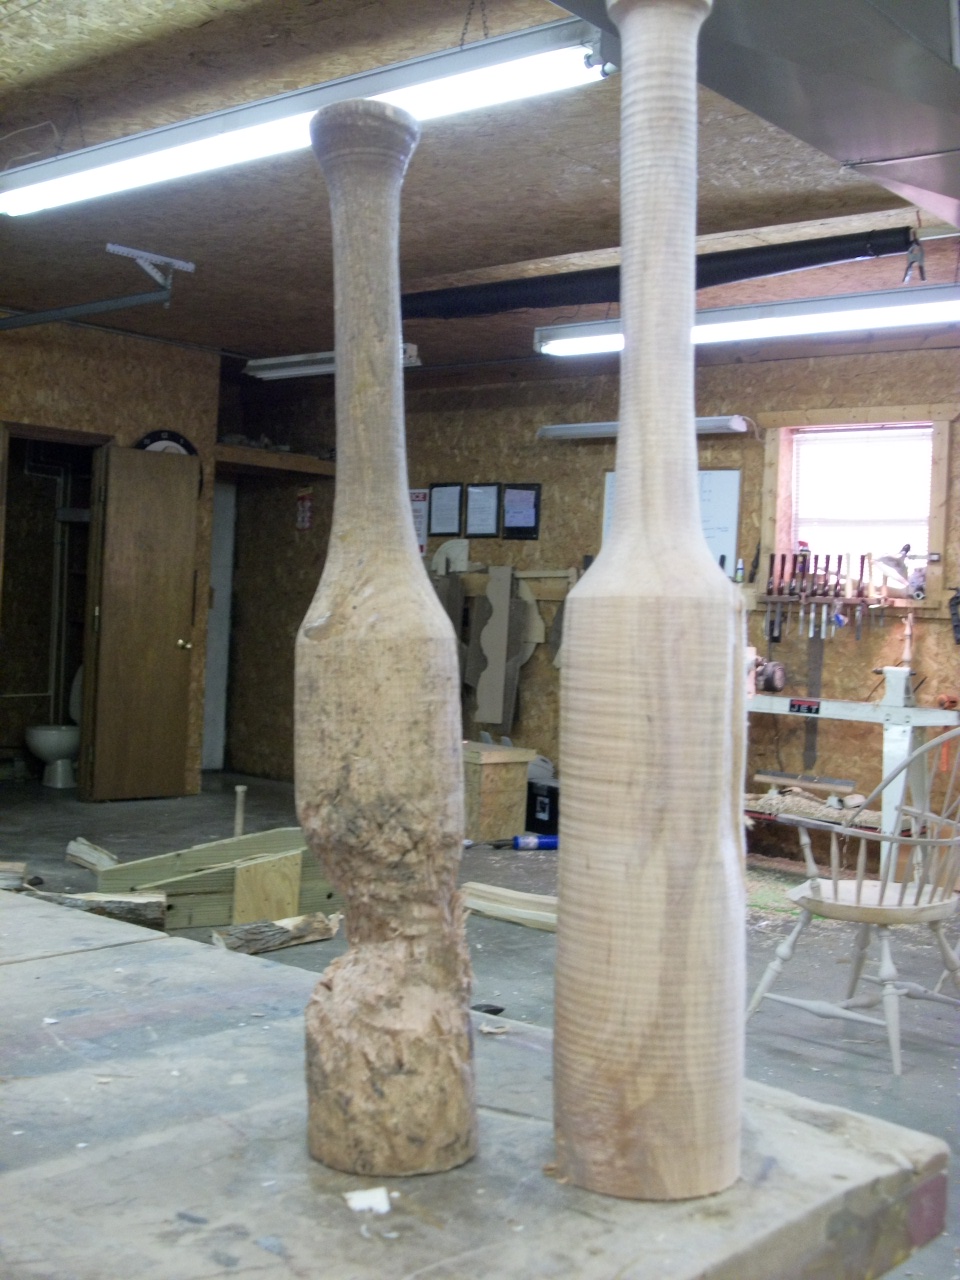
There are times when you know you have to get a new tool. When one is broken, worn out, or not doing the job needed. Well this is one of those times. Here you can see my old beaten froe club, it's only a little over a year old but it has just about reached the end of the road. I made a new one out of maple thinking it will hold up a little better but that is yet to be seen. The "beaten" one is red oak and could probably last another few months but I had time and a piece of maple to make the new so I thought what the hell. It's a bit taller and a bit fatter and the weight is considerably more ,it's fresh from a log, I put the date I "retired" the old one to see how long the maple one will last. If I can get a piece of dogwood I would make one out of it, as dogwood doesn't split. I hear it will out last just about anything you can make a club with.
You can see it's almost all the way to the middle on one side. I guess I naturally used it the same way every time. It may have dug in on the one side and just by force turned as I used it, I'm not sure, but what I am sure about is even being red oak it made a bunch of split out pieces over the course of a year for me.
Subscribe to:
Posts (Atom)