I have to make about 40 or so of these and by the time I'm close to the end I'll be able to turn one in about 10 minutes. Repetition is what normally drives me in the opposite direction while building furniture, but for chairs, I get so much joy from seeing the next one look better that I am kinda disappointed when I've done the last set of legs.
Jefferson Swivel and Secretary

Showing posts with label Chair Parts. Show all posts
Showing posts with label Chair Parts. Show all posts
Tuesday, January 22, 2013
Chair Leg Splitting/Turning
I have to make about 40 or so of these and by the time I'm close to the end I'll be able to turn one in about 10 minutes. Repetition is what normally drives me in the opposite direction while building furniture, but for chairs, I get so much joy from seeing the next one look better that I am kinda disappointed when I've done the last set of legs.


Friday, January 18, 2013
Back to the process of...FUN

After some time away from chair building, I am finally getting my mojo back. To me there isn't much that is more rewarding than starting with a log to build a chair. The process you have to go through and all the drying time is so worth it in the end, to result in a piece of furniture that will outlast my daughters kids. I'm not sure what is more special to me, the fact that I made something that will be enjoyed way beyond my time or, to have someone in a 100 years at least know I was on this earth as a chair builder.


Out of one 24" section I got around 14-16 usable blanks for legs plus more than enough arm stumps.

Next I'll take them into the shop and turn them to a 2 1/4" diameter round. After I turn them round I let them sit around the shop for a few days to harden up before I'll turn them to shape.
Sunday, February 26, 2012
Painting/Aging a Windsor Chair
For several years, I did a very (extremely) labor intensive paint finish using latex paint and lacquer to get a chipped paint effect and age, I have to say it looked good but the time spent was way to much and sometimes took longer to paint than to make the project. Once I began using Real Milk Paint, it cut way down on the labor portion of my finishing. While it's not what most would consider an easy to apply method I use, it's still much easier than the lacquer method and I can have a 3 color paint finish done in 3 days per chair. Here's how I go about it...


 I thin down the top color (black) to make it easier to burnish and get the wear I'm looking for. After the paint dries, use a subtle approach to add age and wear.
 I'll use a dull card scarper to simulate the chips a dings, worn out 400 grit wet/dry paper to do the blending, and if it's not blending fast enough, I use worn out 180 grit to get where I want to go.


.

First I use a base coat, in this case Mustard. This first coat basically serves as a primer and gives the foundation of this process.

Once the first coat completely dries in 1-2 hours, I use a scotch brite pad to burnish the entire chair. All the turnings, spindles, seat, and bows, get burnished. It takes elbow grease but you get this shiny appearance letting you know you've done it right.

Here you can see the difference between the unburnished chair (left) and the burnished one (right). That shine helps the next coats go on much smoother and silkier and results in a completely smooth and inviting finish.

The legs show the same, left side unburnished, and right side burnished.
After this burnished coat, I'll apply a second color in this case Terra Cotta Red
following the same steps. If you strain your paint you can skip the burnishing step and apply the black over the red, otherwise you'll have to burnish the red as well.
following the same steps. If you strain your paint you can skip the burnishing step and apply the black over the red, otherwise you'll have to burnish the red as well.


I try to focus on wear normal areas the get natural and the most common looking wear. The front legs, the seat edge and saddled area, the hand holds a little on the bows and spindles etc. You can go to far quick, it's better to do a little and step back to see how it looks. You can use Denatured Alcohol to simulate what it'll look like with a finish on. It will show more than you think once the finish is applied. So be cautious.
Work thoughtfully, make up a story as you do this and imagine what this chair was mostly used for. I sometimes want a heavy wear and think a chair might have been used at a tavern and got used heavily, such as Bar brawls, spilled tankards of ale and the like. Other chairs were in a home at a table and over a 225 year period got used, but nothing like that in a tavern, these kind of made up stories sound corny, but they work and make you think about the finish more than just going randomly. Once you make these stories up tone it back a little because if you make it too worn, in 30 or 40 years it'll just look like it needs to be refinished. You want to give an aged appearance now but let the chair develop it's own character in time.

After I'm happy with the amount of aging, it's ready for the finish, I use an oil/varnish mix 1:1:1 ratio of Boiled Linseed Oil, Spar Varnish, and turpentine. The oil penetrates into the wood, the spar varnish builds up and produces a faster shine and the turpentine is simply a thinner that speeds the dry time. After usually 2 or 3 coats, the chair is ready for use. I usually like it to set for a few days before any use. The picture above shows a chair with one coat of oil next to an un-oiled one. After another coat or two, the chair starts taking on a nice dull satiny sheen. The more coats you put on the more shine you'll get. If you don't like the artificial age on your pieces, this process is still a good way to go, just don't do the scraping and sanding and you'll get a great paint job and finish that will last longer than you may want.
Thie pics below are with only 2 coats of finish on. The shine is a little dull but I made these for a client and want to make sure it doesn't go to shiny till they give their approval. Getting that balance between what you think is the age and shine someone wants and what they think is right, is one of the hardest parts in furniture making. I look at it as I can always fix it either way and make it to their taste, which is the important thing.


Saturday, January 21, 2012
Skewing around...
The one major thing you have to know is, the skew has to be super sharp. Now I'm not talking just sharp, there's not just a quick run over a stone and use it for the next 6 or 8 turnings kinda sharp, I talking scary sharp, like in between EVERY turning it needs to be touched up and polished. The kind that should be able to cut the end grain on pine and leave that waxy, smooth, polished look behind, or the kind that all of a sudden you look down and there's blood all over, sharp, yeah, y'all know what I'm talking about. This is that kind of sharp.
Friday, January 13, 2012
Shaping a Windsor Chair Spindle
After browsing over my past videos uploaded to YouTube, I watched the one on Spindle Making. While I'm never happy with the way most of my videos come out, that video I am defiantly not happy with. It shows basically nothing but a "buffoon" hacking away at a stick of red oak. I didn't speak one word as to what I was doing or how I got to that particular point in the process. It's just a close up of me trying my best to make a video on a subject I thought I knew something about.
So with spindles to make for the chairs I'm making now, I thought this is a good time to redo a spindle video. Maybe I can give someone wanting to make a Windsor, a little more detail on how to shape them than I had when I first started. I'm going to leave the old spindle video up and let you all comment on which one gives more info on the process and helps you make a spindle. I'm pretty sure which one it'll be but I'll let you tell me in your own words. Who knows I may have to make another with better ideas from you.
Steam Bending Windsor Chair Parts
I'm working on another chair order and need to steam bend the bows for 4 sack backs. I thought it might be helpful to show how I go about the process for those wanting to make a Windsor. In this video, I'm starting with the already shaped pieces ready to bend.
I began by riving out the bows to roughly 1" x 1" x 48". After shaping them with a draw knife and spokeshave at the shaving horse to their pre-steamed sizes, they're ready for bending. I'm self taught at this and never learned how most chair makers go about it, so I don't move the bends from a bending form to a cooling form. I tie off the bent bows and hang them on the wall to cool. I have never had any problems doing it this way and it saves not only material for more jigs, but also a ton of space in the shop. Hope this video gives someone out there a little more encouragement to dive into Windsor Chair making. Steam bending can be used for several aspects in woodworking and it's also pretty cool just to watch happen in front of you.
Thursday, January 12, 2012
New Year...New Froe Club

I was splitting out some spindles for some chairs today and after a few hard whacks my froe club broke in two. I made the broken one back in June 2011 out of hard maple. I know the date because I wrote it on the one I was replacing the now broken one with. I am trying to find what woods work best for a froe club that I have on hand. Red Oak, White Oak, Hard Maple, and Walnut are the spieces I use for chairs most often and almost always have at my disposal. I would like to find a piece of Dogwood but haven't had the luxury yet for it to be placed in front of me to try. I am writing the date I retire the old broken one so I can see how long the next one will last.

So after using the red oak one for about a year and getting a pretty good amount of use out of it, now the maple one has only gone about 7 months. I am trying out a white oak club. Here is a short video on how I go about making my clubs. This is roughly the size I start all the clubs I've made with 4" sq and 17" long. It works great for me and I love the balance this size gives.
Monday, December 5, 2011
Windsor Barstool

Anyway now for a little about the paint.
Originally I painted it with Real Milk Paint's Union Blue over Yellow Ochre and thought initially it looked decent. After a coat or two of the oil/varnish mix I top coat with, I began to see that it wasn't the right look in my eyes. I had some Ultra Bond that is suppose to make the milk paint stick to almost anything, so I mixed it in with some black to see how well it works. I am completely happy with that product. Even over a couple of coats of oil/varnish mix the black milk paint bonded and is just as tough as it is when it goes on bare wood. That's a very good thing to know when I am working on a customers chair and the paint colors aren't coming out right.
If you've ever used Milk Paint you know it's hard to tell what it will look like till you have a coat or two of finish on. Then it's been where you have to sand back down to bare wood and it's a total pain in the hind-quarters. I'm glad to say even if the oil is on you can change the color without all the sanding and scraping I've had to do in the past. I know my arms and shoulders appreciate that product too.
Monday, November 28, 2011
New C-arm rocker Chair Class

I teach a one on one class only. The only exceptions are for 2 friends that want to take a class together, then and only then, will I do a 2 person class. This is a fairly advanced class for those who have some turning experience, however it's open to anyone wanting to make a C-arm style chair. If you have never turned before, legs will be in the bamboo style. Baluster style for those with some experience. Either way, legs and arm stumps will be turned prior to your arrival but you get to turn a leg or two and all the stretchers yourself. This is a 5 day long chair class with use of tools and materials needed included in price. Lodging and meals are not included, but I can recommend either that are within a couple miles of the shop. You can opt out of the Rocker version if desired, price remains the same. Call or Email for more info (417) 766-4506 / pinehillprimitives@yahoo.com or to schedule a class.
Wednesday, November 23, 2011
Another fantastic Furniture maker

Tuesday, November 15, 2011
Fan Back Windsor Bar Stools

The order I am currently finishing up included 9 chairs overall with 3 of them being fan back bar stools. I have made several bow back bar stools before but never a fan back. I was thrilled to see how one of the fan backs would turn out and to my surprise they look incredible. The height at the pommel is 27" on these and to make it comfortable to sit at with your feet on the foot rest, the foot rest needed to be between 17-18" below pommel. I had to play with the legs a little to see what would work the best and came up with what you see in this picture. It sets perfectly, very comfortable and the foot rest is at just the right height. The seat height on my regular fan backs, or any chair for that matter, is typically 18" at the pommel. If it worked out to that every time I would be totally happy with every chair. I like most chairs that are just for sitting to have about a 1" drop from front to back but on sets that are for a table I think 3/4" works better and helps keep the sitter more involved in what is going on at the dinner table.

Wednesday, October 5, 2011
The Life of a Windsor Chair Spindle

When you look at a Windsor Chair in it's completed form, there are so many parts that come together to make the beauty you see. Part of that beauty are the plain and simple back spindles providing the anchor of the upper half of the chair. What you don't see is how those plain and simple little back spindles came to be. To do them the right way they need to be split or riven out of a green log. First you have to find a good straight log (in this case White Oak). You have to saw it to length, split it in half, then again into quarters, and even if you can read the bark well, the log may have some hidden defects that make it unusable. Once it's split into quarters, and any defects discovered and discarded, a grid is layed out across the section, some people split it into eight sections instead. The 1" grid gives you more even squared up spindles stock making it easier to shave with the Draw Knife in my book.

Each grid line is strategically rived using a riving brake, giving gorgeous straight grained oak providing the utmost strength and quality. Then each wide plank is rived again and again till 1" square billets are produced.


With each billet split out, it's time to shape them square with a draw knife. First you have to follow the grain on one side, flatten it out, turn it end for end, up and down, back and forth, then move onto the next side and do it all again. Once thats done four times, you have to make it octaganal and oversize the tenons, the swell, and taper. After you have all that done...

They need to set around the shop a week or so before they go in the kiln for 2-3 days. Then they are ready to final shape with a spokeshave.
So, those plain and simple little spindles have been through so much just to be a plain and simple spindle. Even if they seem like plain and simple parts of a Windsor, they provide the backbone of the chair allowing you to sit and rest your back. Now I'm ready to lean my tired back against those plain and simple spindles and relax.
As the Drawknife Slices

There is truly something magical and mesmerizing about a Draw Knife. I split out in the neighborhood of 100 billets and roughed out 93 yesterday and today. A good quality oak made the last two days so pleasant to work, on top of the fantastic weather and great scenery I have at my shop. The super sharp draw knife (thanks to Pete Galberts video on the grinder jig) made the work seem to fly by. I learn something every time I pick up the draw knife (or any tool for that matter) but I have gotten so attached to using a draw knife. What a wonderful tool, so simple in design, but so useful in so many ways. When you can make a pile of shavings and not remember what your doing (work) or what the rest of the world is doing has a wonderful effect on you.
Thursday, September 29, 2011
Splitting (riving) Hard Maple for Chair Parts

As I began a new and rather large chair order this week, 10 to be exact. I went through the maple logs I had gotten 3 or 4 months ago and they just weren't up to par. So I had to search out another nice maple, (hard to find in Missouri by the way) that could get enough parts for all 10 chairs and extra if needed. I found this beauty at my local log guy. It was about 20" in diameter one way and 17" the other and 9 foot long or so. It was really nice and straight and just had one little blemish on the bark. So I bought it got it home and began cutting it to rough length. This is how I laid out my blanks.
Instead of the "normal" way of splitting it into 1/8ths I tried basically making it a large checker board. I drew lines first across the center as normal and then again across the other way making 1/4's, then instead of drawing lines into 1/8th's I decided to lay it out every 2-1/2" from those first two lines, it gave me what you see in this picture.


I did have a few that were unusable, mostly the 4 that were dead center and a couple around the outside, but this photo shows, out of just one of the sections I cut to 24" long, it got me about 30 billets and just had 4 or 5 that are going to be firewood this winter. I'll have to make sure all goes well with this method, and if so, I believe I'll be using it permanently. Now to rough turn them all round and begin making chair parts.
Monday, August 1, 2011
Carving a Knuckle for a Windsor Chair
Here is a video of how I go about carving the knuckles for my Nantucket Fan Back arm chairs. I have never been taught how to do this and don't know if it's right but it works for me and it's the only way I know how to do it. It takes some time to figure out and get, but it makes the arms of a chair have an added detail that I think looks amazing. Hope you enjoy the video.
Monday, June 13, 2011
Hi Ho Hi Ho it's back to work I go

This is the order I am working on as of right now and it's a couple of Sack Backs. I got the seats carved out today and the legs dry fitted. The seat material is one piece White Pine I got from Nick Cicchinelli in New York. I have pretty much always used poplar for my seats manly because I can get it easier but the white pine is what I'm going to start using because it carves SOOOO much easier. I didn't realize how much more work I was making myself do with the poplar.

Wednesday, May 11, 2011
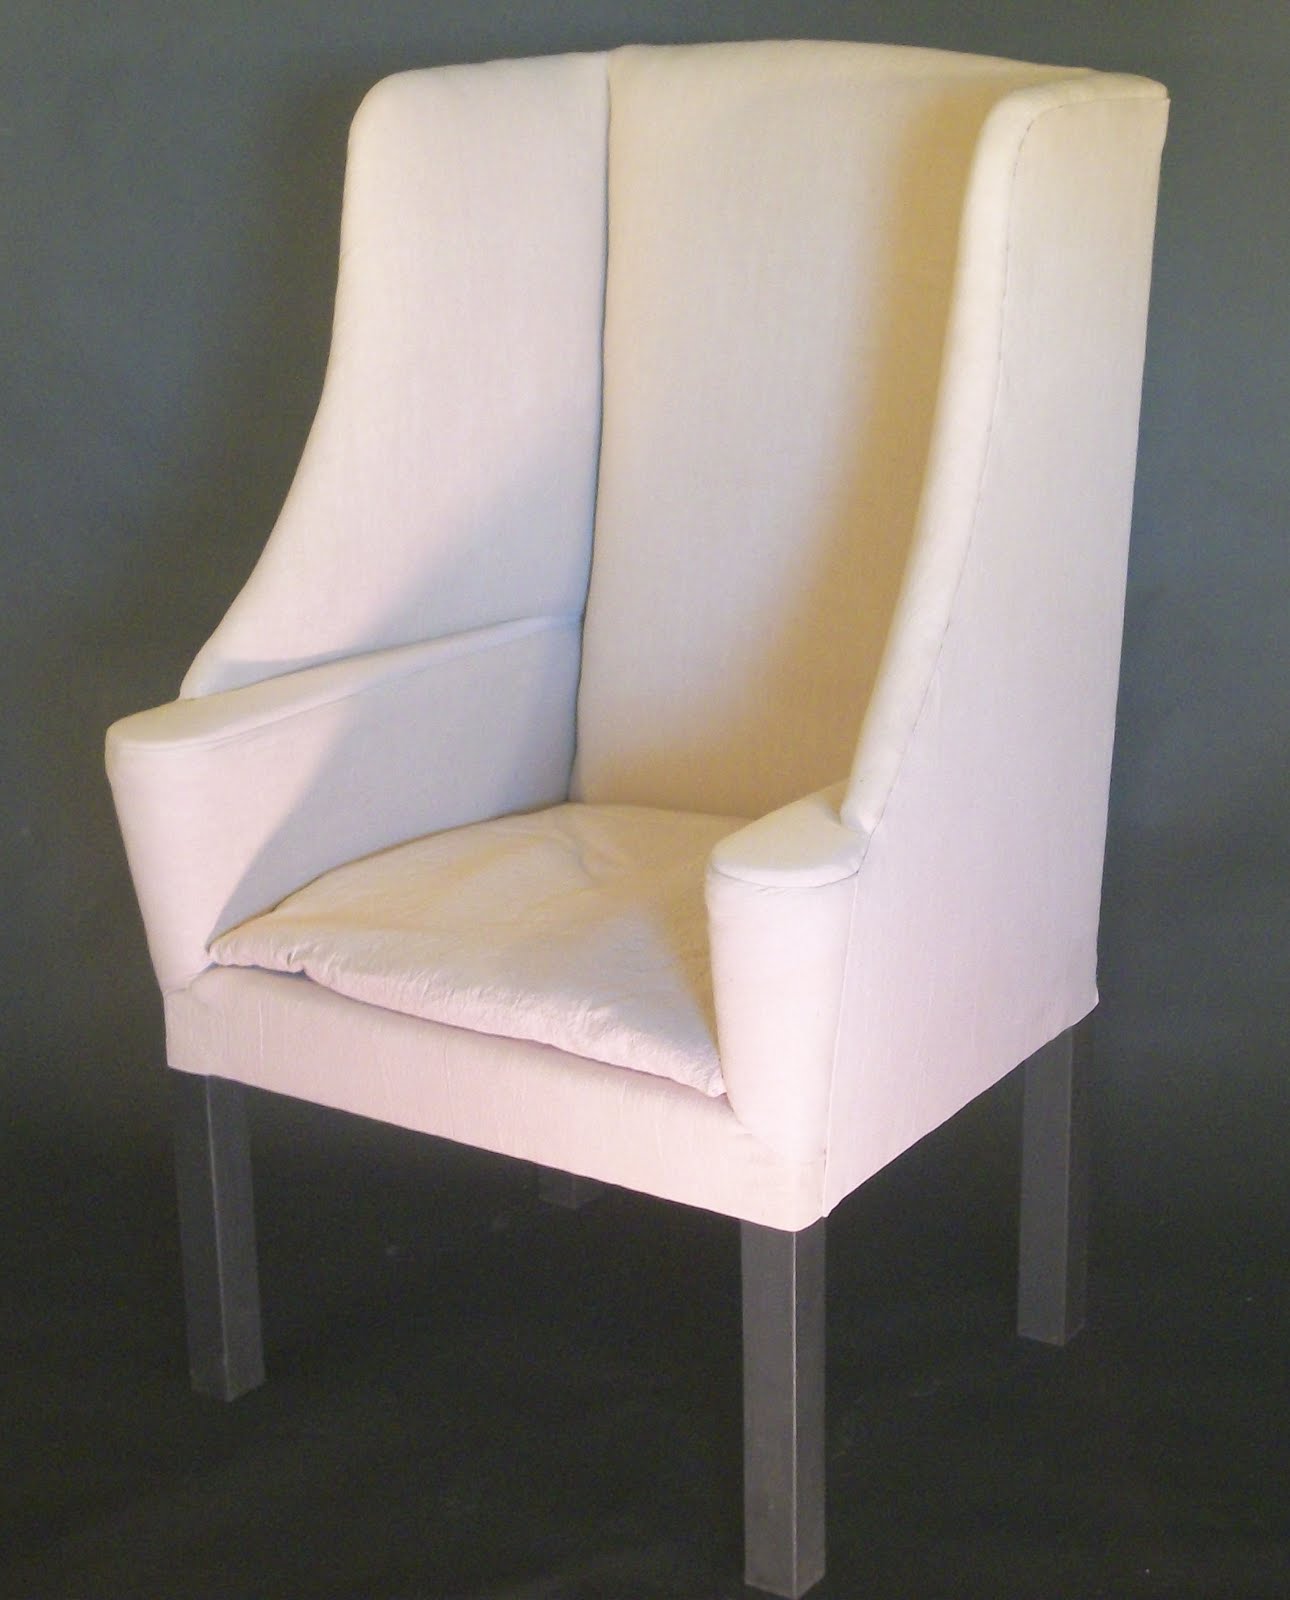
Upholstered Frame work

Sunday, May 8, 2011
Fan Back Chairs

Here is the finished chairs for an order going to a house on the island of Nantucket. The order also includes the "Titanic" settee, an 8 foot long Sack Back Settee that came out perfect in my opinion. I had a nice day finally after all the rain we have gotten to take these outside and set them in the nice green grass and get some photos taken. I think the green background makes them look really good and the light from the sun shows off better than a flash can do.

This is one of the two Nantucket Fan Back arm chairs for the order. All this is pretty faithful to the old ones except I use my own turning style (based off of Curtis Buchanan's and Peter Galbert's styles) and the rake and splay of the leg angles are of my own interpreting. I've never had any training or taken a class to learn how to make chairs or anything for that matter, I just kind of went for it and I do have to say that after 10-11 years of making furniture I've still got some things I'd like to improve.

Building the side chairs for this order was actually the easiest part of it. I had 8 of these to make and they just all came out within an 1/8" other each other, but even so, side chairs are easier to make because you have fewer parts to make and paint. I have been asked what is the hardest thing about building furniture and my answer is always, the paint, stain and finish. One persons idea of wear is different from anothers almost every time. Some people like a paint finish with no wear at all, some want more wear than I like to do. Theres a line you have to tip toe around with that, because in all honesty the finish is the most important aspect of a piece. You can build the most beautiful piece of furniture and put a bad finish on it and it can ruin it, however you put a great finish on a bad piece and it will make the piece into something spectacular. The hard part is doing both on the same piece. Once you can achieve that you've got something special.
Tuesday, April 12, 2011
The Painted Titanic


Friday, April 8, 2011
The "Titanic" is about to set sail


Subscribe to:
Posts (Atom)